
For women, it’s a fact that our body fat tends to shift to the abdominal or belly area in mid-life. This is because our estrogen levels drop during menopause. And it is the estrogen that has an effect on where our fat is stored in our bodies.
Why our midsection changes during menopause
Abdominal changes in midlife aren’t just about calories. Hormonal shifts, sleep disruption, and stress can affect metabolism and how your body stores energy.
- Fluctuating estrogen affects insulin sensitivity
- Chronic stress can elevate cortisol and favor central fat storage
- Poor sleep disrupts appetite and glucose regulation
Yoga doesn’t target fat loss directly, but it supports the systems that influence abdominal changes.
learn more about how regulation shifts physiology
Belly fat increases health risks
That extra belly fat carries with it some serious health risks. Like for example;
- High blood pressure
- Sleep apnea
- Heart disease
- Sleep apnea
- Diabetes
- Cancers
- Stroke
- Fatty liver
- Greater risk of early death
The trouble with abdominal fat is that it’s not just subcutaneous fat (just below the skin). Belly fat also includes visceral fat, which is inside the abdomen and surrounds our internal organs.
Why can yoga reduce belly fat?
Some yoga poses directly target the abdomen so this means you will be working the muscles
As well as a good way of working your muscles yoga also helps to reduce stress, which is a contributing factor to belly fat.
Making a regular yoga practice part of your daily routine can help manage tension and anxiety. This improve your overall health and helps stop weight gain.
Yoga supports abdominal health by
- Encouraging gentle core engagement
- Improving digestive circulation
- Supporting metabolic flexibility
- Helping the body down-regulate stress patterns
If you want to learn more about down-regulating stress and supporting your nervous system down load this free pdf
10 minute nervous sys nervous system reset
10 yoga poses to get rid of belly fat
1. Boat Pose
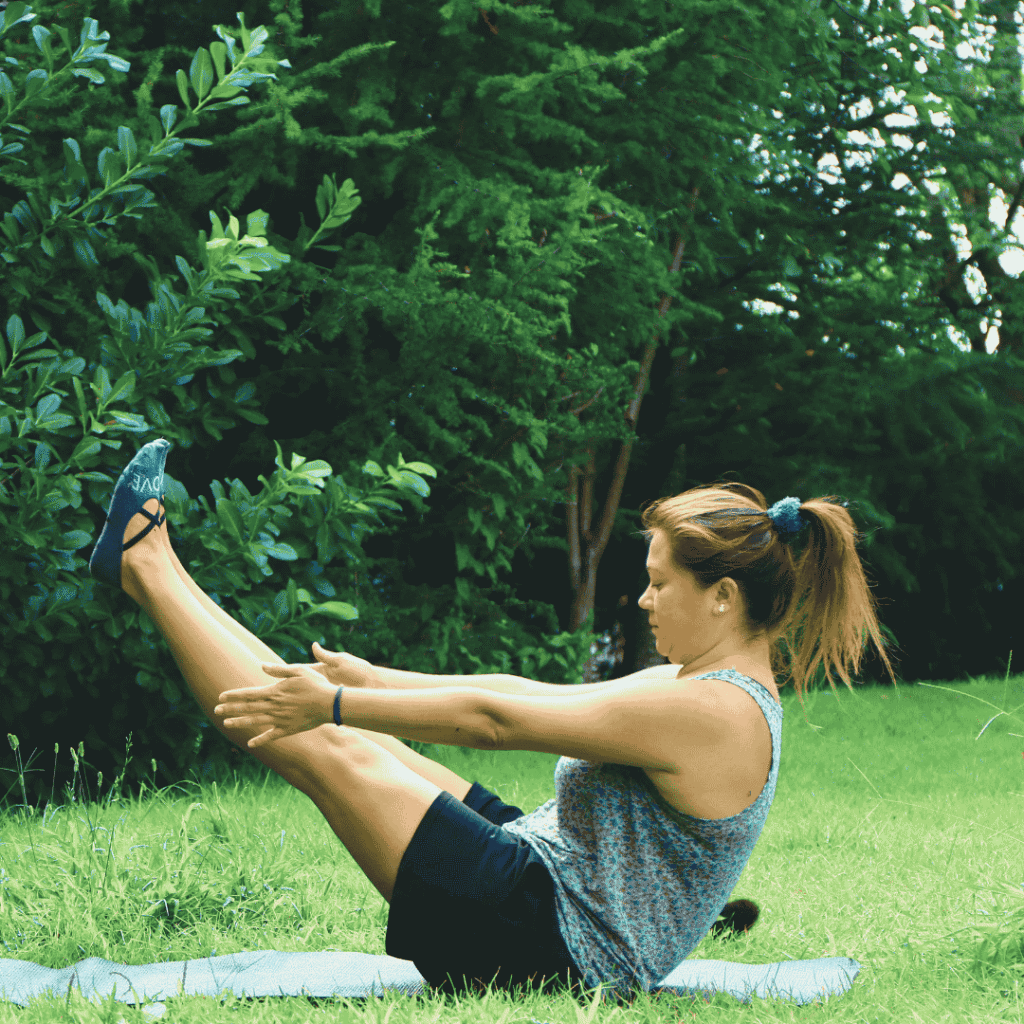
This is a killer. Try work up to each boat for 5 breaths. And do that 5 times. You will feel it in your core and probably your hip flexors. Bend knees, or hold the back of your thighs as you need.
If this feels super intense. You can build up to boat. Start by doing a lying down version. Lie on your back on the mat and lift your legs up. Very like boat but your back is supported.
How to do it
- Sit on your mat with bent knees and feet flat on the floor.
- Lean back slightly, then engage your core, and lift up your feet.
- Try to straighten your legs, and reach your arms out in front of you.
- If you need to, you can hold the backs of your thighs.
What are the benefits?
- Strengthens your core muscles.
- Tones and firms your tummy area.
- Improves your balance and posture.
2 . Plank Pose
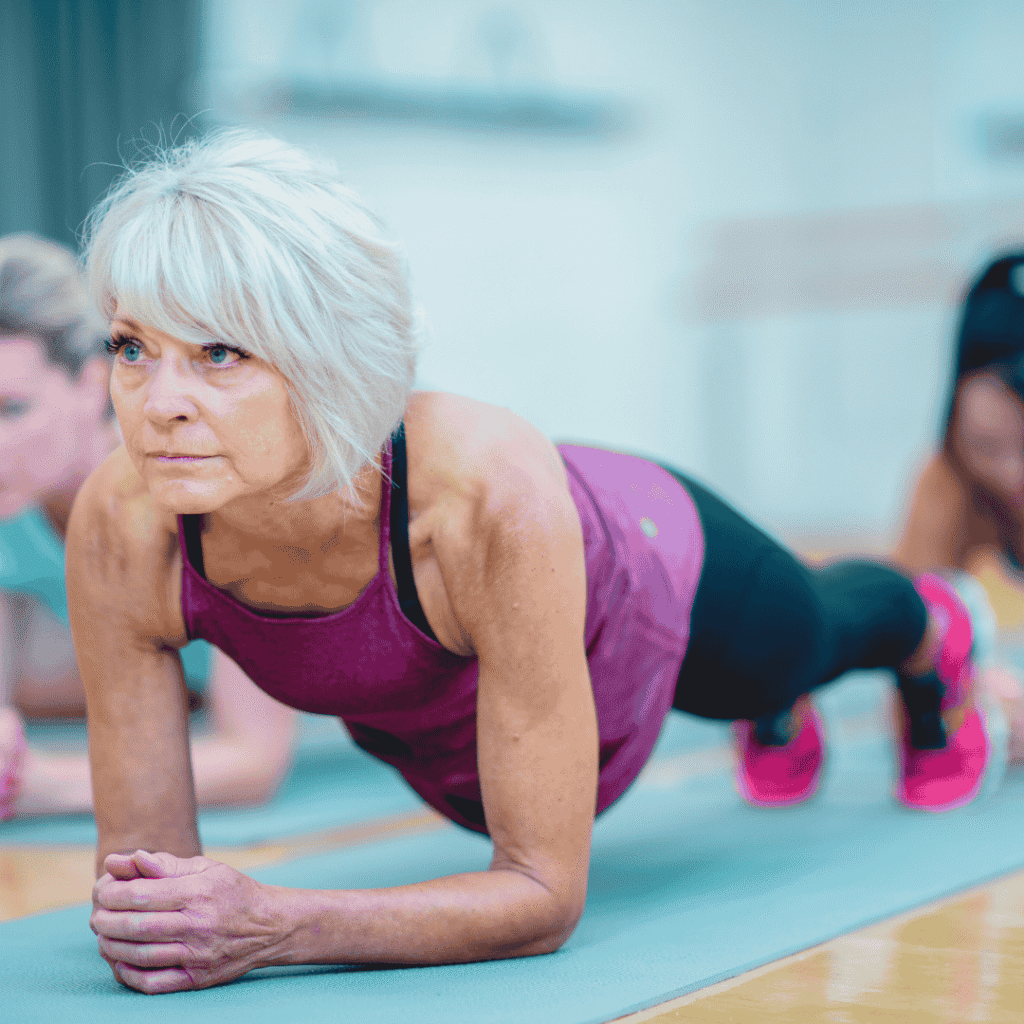
Planks are a great core exercise. As well as working your core, you strengthen your shoulders, arms, and legs.
How to do it
You can choose straight arms or balance on your forearms, let your wrists decide
- Come to a high push-up position with your hands directly under your shoulders and your body in a straight line.
- Don’t let your butt come too high.
- Draw your belly button toward your spine to engage your abs,
Hold for 30 seconds and do 3 times
What are the benefits?
- Engages the entire core, including the lower abdomen.
- Builds strength in the arms, shoulders, and back.
- Enhances overall body stability
3. Side Plank Pose
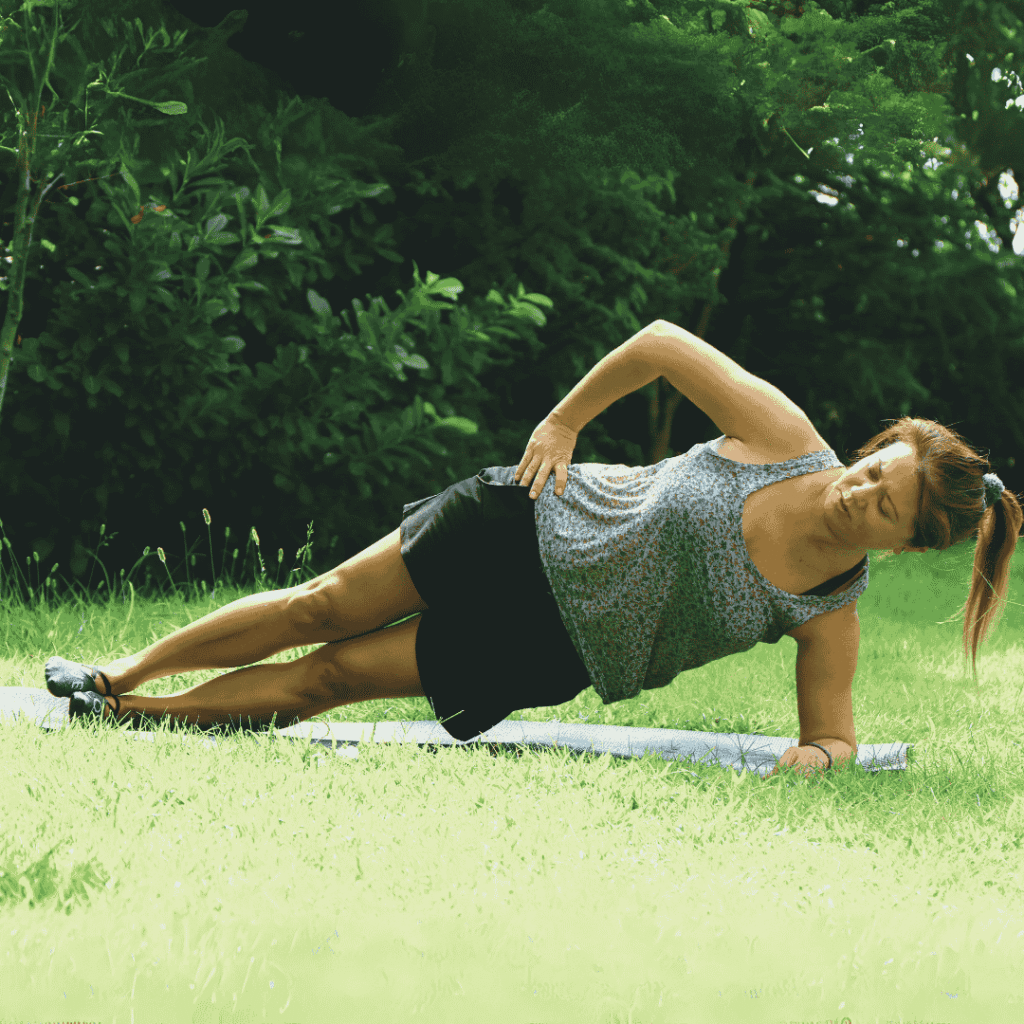
The side plank targets your obliques, which are the muscles at your waist.
How to do it
- Working one side at a time
- Lie on your side on the mat
- Rise up onto your elbow or have a straight arm make sure wrist and shoulders are stacked
- Make sure your lift your bottom hip away from the floor to work your obliques
- If you can stack one foot above the other or as an extra challenge raise your upper leg
If this is super challenging you can always start by keeping your lower legs on the mat and just doing small side hip raises
Do for three sets of 30 second planks per side.
What are the benefits?
- Great for your balance
- Strengthens your core , arms and shoulders
- Strengthens your obliques (waist)
4. Downward Facing Dog Pose
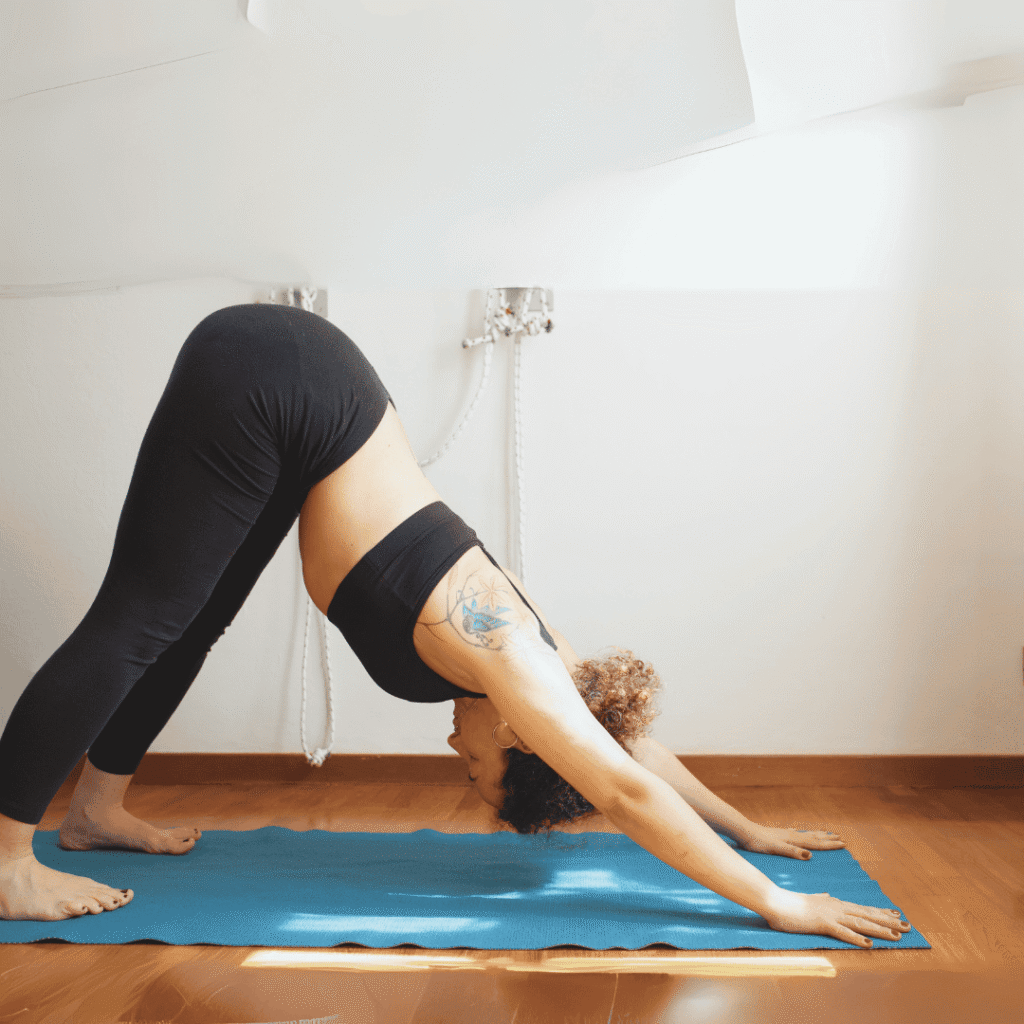
Excellent pose for strengthening as it is weight bearing. Also amazing for stretching the whole back of your legs and back.
How to do it
- Start on your hands and knees in tabletop
- Hands shoulder width apart and your knees hip-width apart.
- With bent knees lift your tailbone up
- Straighten your arms
- Your legs can remain bent
- Gradually let your heels sink down , they may touch the floor and your legs may be straight it depends on how tight your hamstrings and calves are
- Keep your head and neck loose and relaxed
Hold for 5 breaths and then return to tabletop or go into child’s pose.
What are the benefits?
- Stretches and elongates the abdominal muscles
- Relieves stress and tension in your lower back
- Improves flexibility in the spine and hamstrings
5. Cobra Pose

Strengthens your back, tones your belly and firms the waist.
Improves your flexibility in your spine.
How to do it
- Lie on your stomach with your hands beside your ribcage
- Squeeze your legs together like a cobra tail
- Press your toenails into the mat
- Lengthen your spine as you lift your head, shoulders, and chest, off the mat. pressing lightly into your hands
- Keep your shoulders away from your ears, your neck long, look forwards, don’t arch the neck back
Hold for 5 breaths before releasing to the mat. Try and do this 2 or 3 times.
A nice counter pose can be downward facing dog or child’s pose.
What are the benefits?
- Strengthens your back muscles
- Tones your abdomen and waist
- Improves spine flexibility
6. Warrior 2
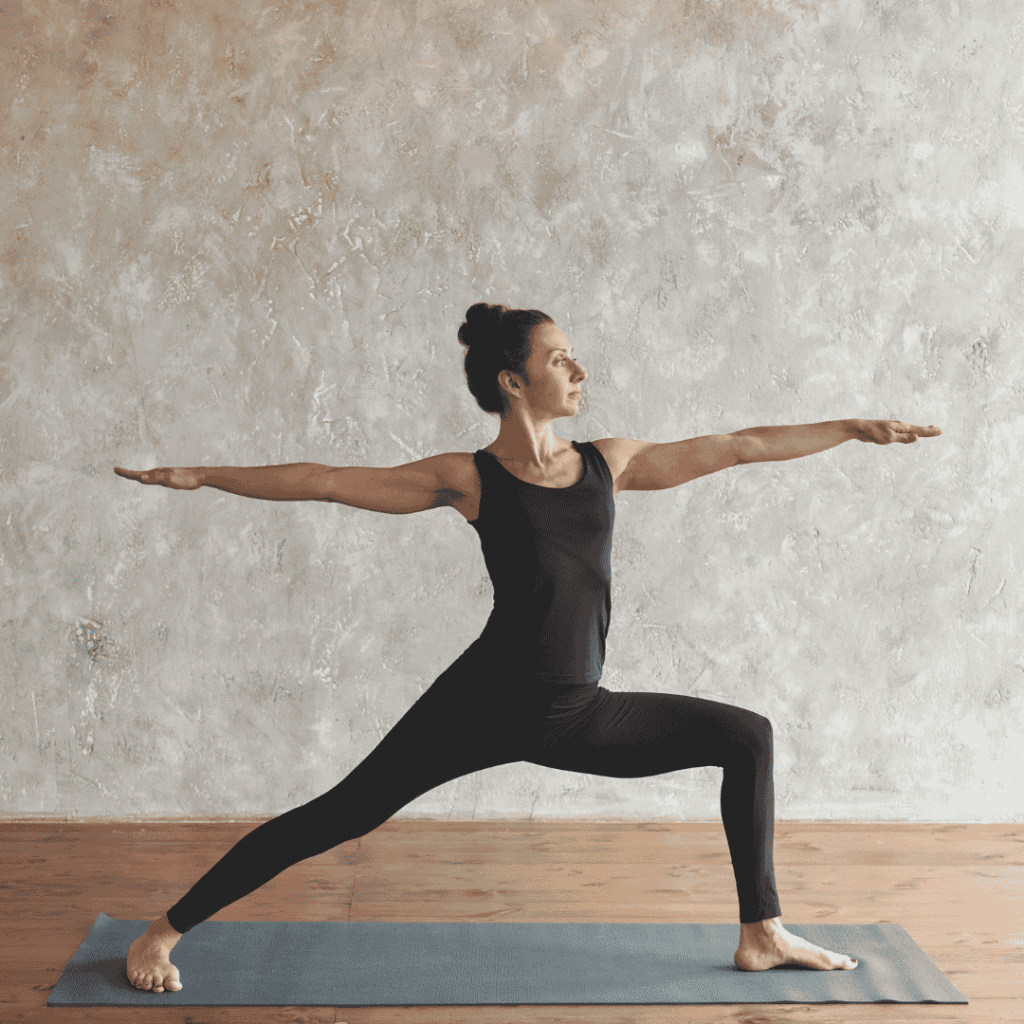
How to do it
- Start in a high lunge
- Turn your back foot out to a 90-degree angle
- You can align your front heel with your back arch or take a wider stance depending on how it feels in your hips and pelvis
- Bend your front leg and keep your knee behind your toes also make sure your knee doesn’t cave inward
- Stretch your arms out to the sides and gazing over your middle finger
Hold for 5 breaths then change sides.
What are the benefits?
- Engages your core and tones the waistline
- Strengthens your legs and inner thighs
- Helps balance and concentration
7. Bridge Pose
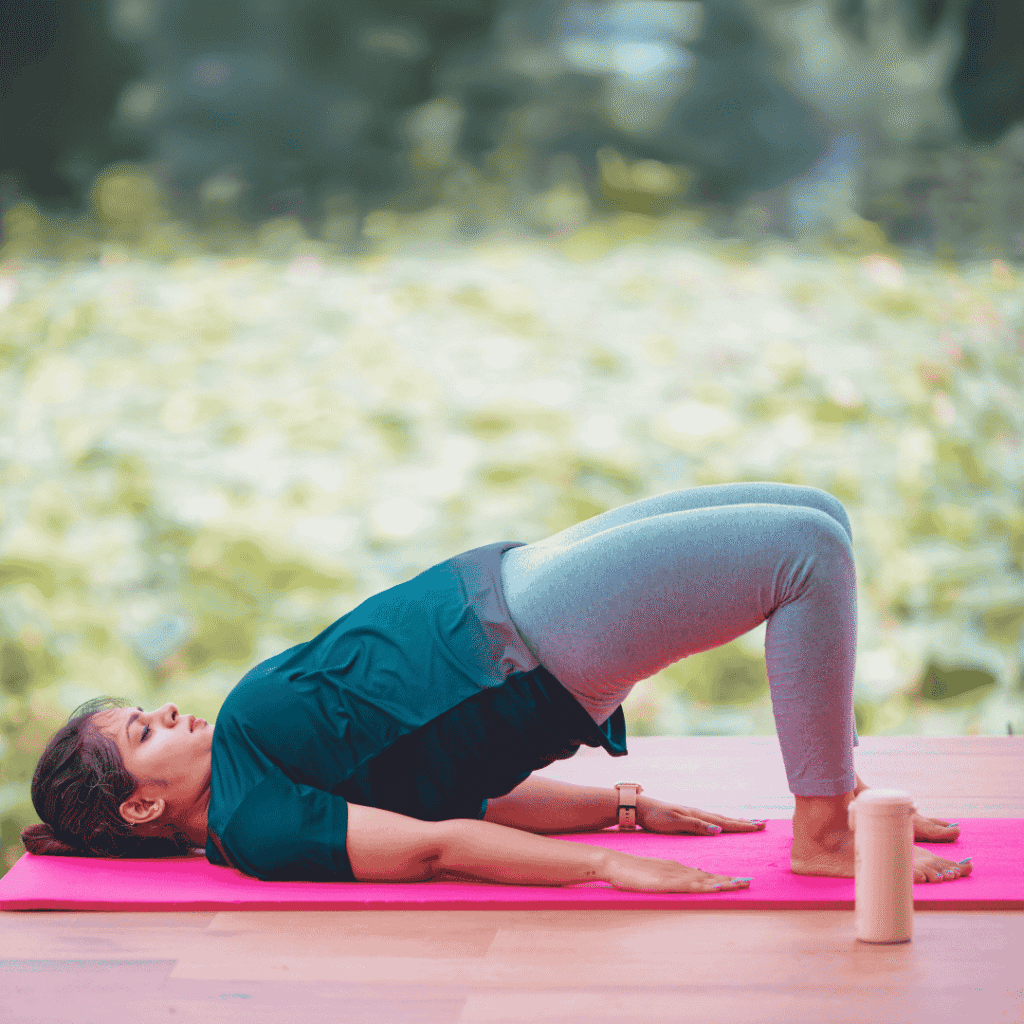
This is a backbend. It is great for losing belly fat. It works abs and glutes and also amazing for pelvic your floor. The best way to work your pelvic floor is to put a block between your knees and squeeze it as you rise up to into bridge pose.
How to do it
- Lie on your back with your knees bent and feet flat on your mat
- Lift your hips up towards the ceiling, keeping your feet and arms flat on the floor
- Squeeze your glutes as you raise up your pelvis
Work up to holding your bridge for 30 seconds, and repeat three times
What are the benefits?
- Activates your abdominal muscles
- Stretches your spine and opens the chest
- Tones your butt and thighs
- Supports posture and pelvic floor
8. Chair Pose
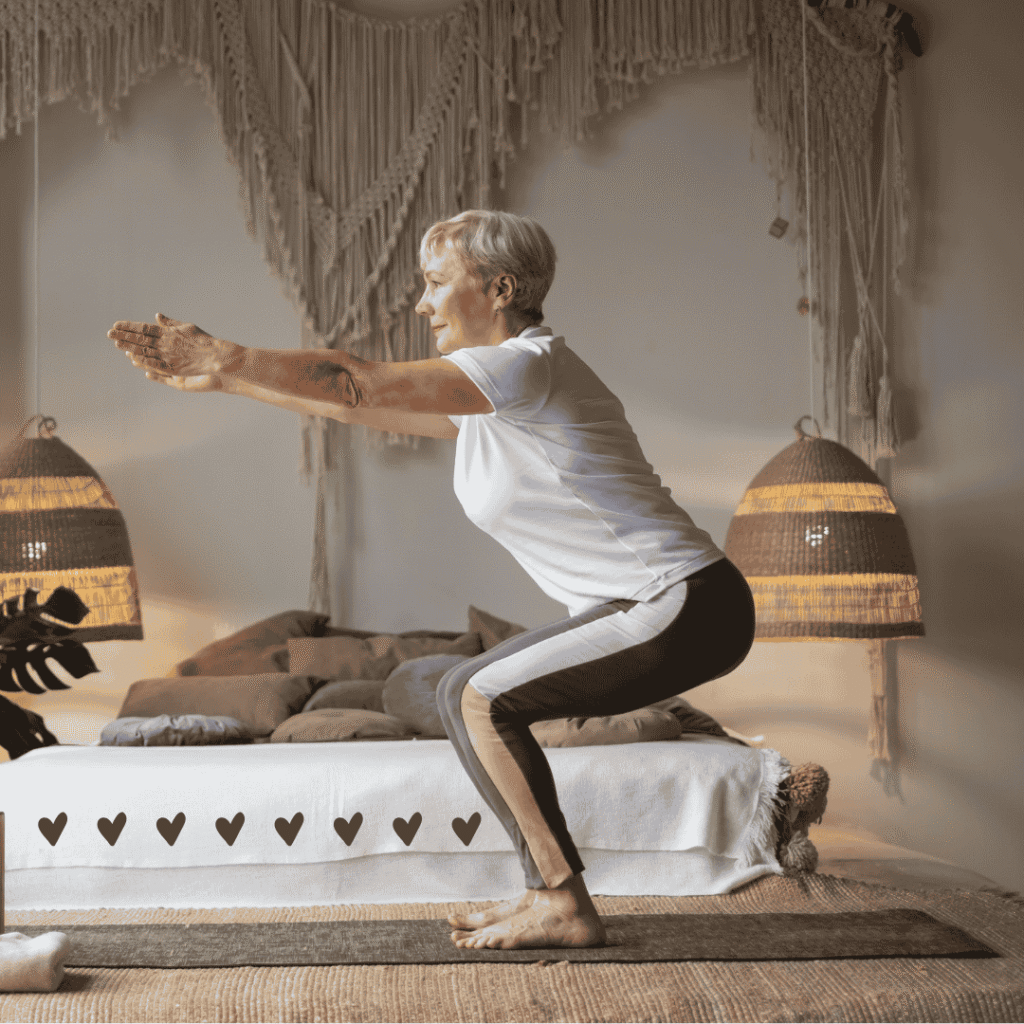
For this pose you want to sink into an imaginary chair while keeping your core tight and engaged. If your shoulders allow try and have your forearms glued to your ears with hands pointing upwards.
As you hold the squat position you are using your ab muscles to lift your torso and spine straight. It’s a great workout for your lower body. Make sure not to let your upper body collapse to get the best core benefits.
How to do it
- Stand with your feet together and reach your arms up overhead if your shoulders allow
- Bend your knees, shift your weight into your heels, and hinge from the hips
- Move your butt back as if sitting in a chair
- Engage your core, lift your chest, keep your neck and spine long
- Make sure your knees and shins are back, so you can still see your toes
Hold your chair pose for 30 to 45 seconds, and repeat three times
What are the benefits
- Activates your core and lower abdominal muscles.
- Strengthens your thighs and butt.
- Improves posture and balance.
9. Warrior 3
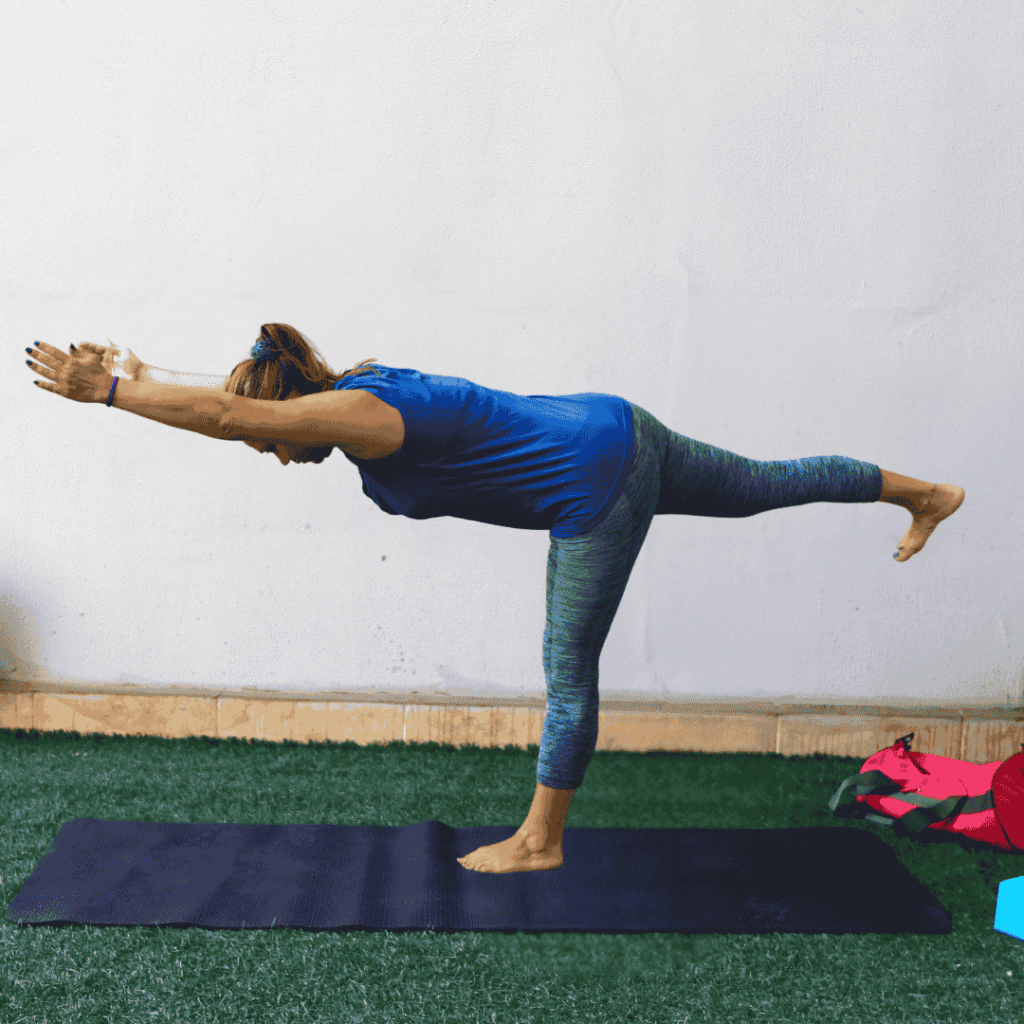
This is a superb weight bearing, balancing pose. You will feel it in your core and hip flexors.
How to do it
- Start in a standing position with your feet hip-width apart and arms at your sides
- Put weight into your right leg
- Lift your left leg back behind you off the floor
- At the same time, hinge forward at your hips and bring your torso parallel to the mat. Hips face the floor.
- Reach your arms forward, keeping them in line with your shoulders and your palms facing each other
- Engage your core by pulling your belly button in
Hold the pose for 5 breaths, then return to standing and repeat on the other side. Do this 2 or 3 times.
What are the benefits?
- Works on stability and balance
- Tones the abdominal muscles
- Strengthens the legs and glutes
- Improves concentration and focus
10. Bird Dog
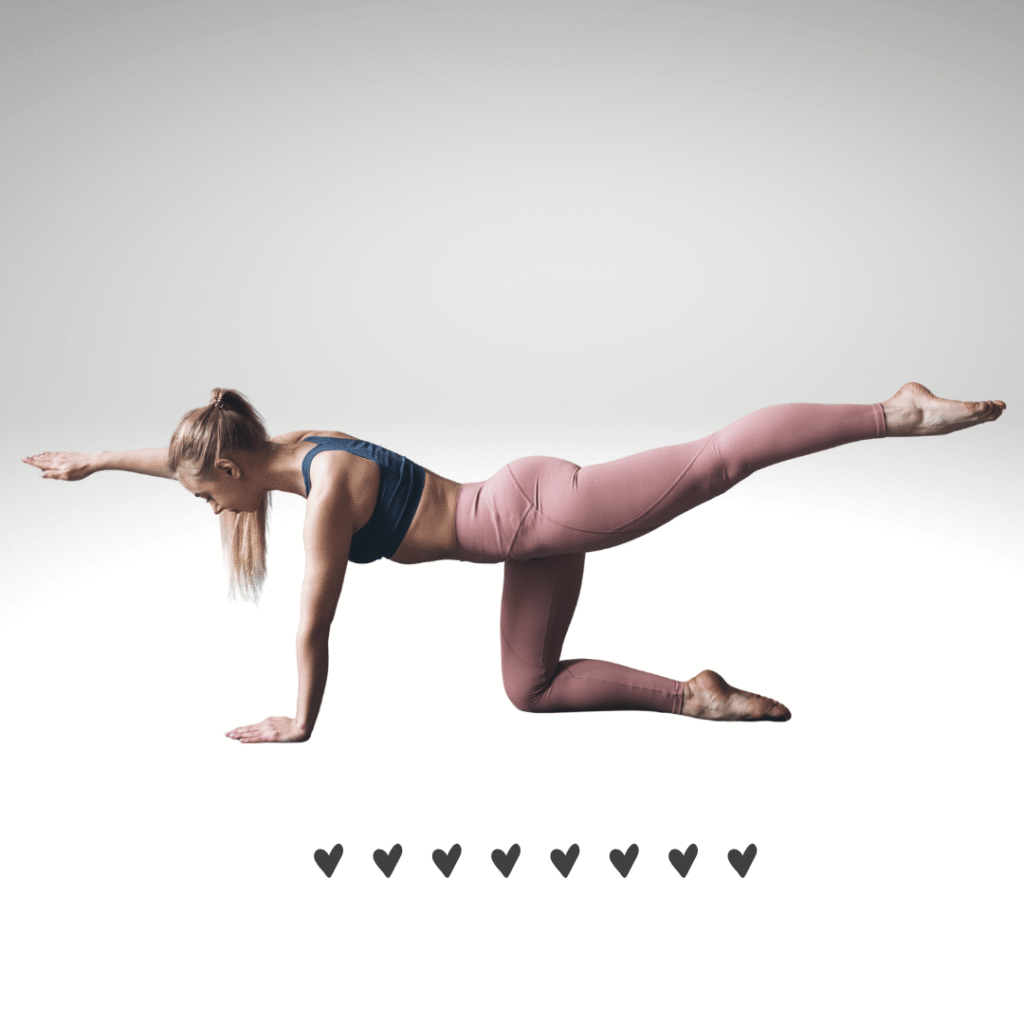
How to do it
- Start on all fours in tabletop, your wrists should be under your shoulders and knees under your hips
- Reach your right arm forward while extending your left leg backward
- Keep your core muscles engaged and stretch from fingertips to toes
Hold for 5-10 breaths and switch sides. Try and do 5 sets each side.
For a challenge, rather than opposite leg and arm is to try same side arm and leg. This is great for working your waist and any weakness on one side over another.
What are the benefits?
- Engages the entire core to help lose belly fat
- Strengthens the lower back muscles
- Tones the butt and shoulders
- Improves posture and balance
Focus on the system, not the scale
The goal isn’t to flatten your belly overnight. It’s to support core balance, metabolism, and overall regulation.
Consistency, quality sleep, mindful breathing, and gentle, targeted yoga often lead to more meaningful, sustainable changes than high-intensity exercise alone.
I would suggest the above 10 poses be combined with the yoga poses suggested in my article below.


